 I have recently become interested in making pottery without using a kiln. This summer I am teaching a pottery class at Camp Asbury titled "From the Ground Up." The focus is on making tools, preparing clay from the ground, and primitive firing.
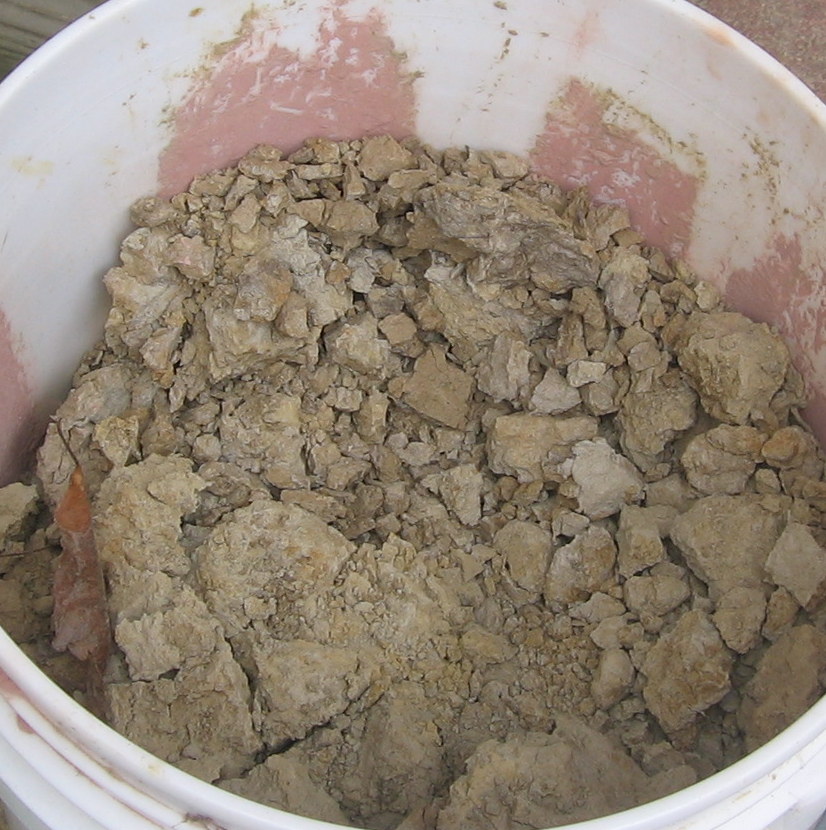
Step 1. Clay. Easy to find in Ohio, just dig a hole and it's there. Step 2. Let it DRY. Completely. Then, add water and it will disintegrate and slake down into fine mud. Mix it up, and screen through an old metal window screen to remove, sticks, stones, stuff you don't want in your clay. Step 3. Dry your slurry into workable clay. This can be done by putting the slurry in an old pillowcase and leave it out on the concrete. I have a plaster top wedging table where I dry my clay. Hardi backer cement board or old drywall would also make a good surface. NOTE: if you use a plaster surface, DO NOT get plaster into the clay.
Once the clay is a workable consistency- test it by squishing it up until it feels right. Then, you can make some pinch or slab pots from the clay. I made 4 pots for my first test firing.
Pot (A) is homemade clay with white stoneware mixed in and "marbled."
Pot (B) has brown stoneware added, because I felt the clay right from the ground was a bit cracky, or short.
Pot (C) has some sand added to the clay, which made it even more cracky.
Pot (D) has nothing added and is thrown on the potter's wheel.
I tried to keep the pots even in thickness, no thinner than 3/8" - 1/2". Also, I have placed the pots in my kiln to preheat at 200 degrees for several hours. I have never successfully fired green clay in an open fire without cracks and explosions. I'm convinced that moisture is my enemy. Smarter people than I have been doing this for thousands of years, so what's my problem?? My attempt to be SURE that the pots are really dry is to preheat them for several hours in my kiln. This could also be done in an oven.
Keeping my fingers crossed and hoping to have pics of fired, undamaged pots later!
No comments:
Post a Comment